Preparation Of VMware vSphere Foundation
VMware vSphere Foundation (VVF) is Broadcom’s new baseline virtualization bundle, replacing the old vSphere Standard/Enterprise Plus licensing model.
It is designed for:
-
Basic virtualization
-
Small labs
-
Lightweight infrastructure
-
Environments that do not require full VMware Cloud Foundation (VCF)
VVF is the “entry-level” foundation of the Broadcom product stack.
Prerequisites For VMware vSphere Foundation
- Login to VCF installer appliance and configure Online Depot
- Download 9.02 version of vcenter and VCF Operations on the appliance
- Update the JSON file with a single host.
- We have valid self signed certificate for the host
- NTP is configured on the host
- If two nics are active on the host deployment will fail. Remove one nic vmnic1 and always have vmnic0 active
- No active partitions should be in the disks for VSAN. Default behavior is VCF installer doesn't override existing data on vsan disk.
Preparing The Esxi Host
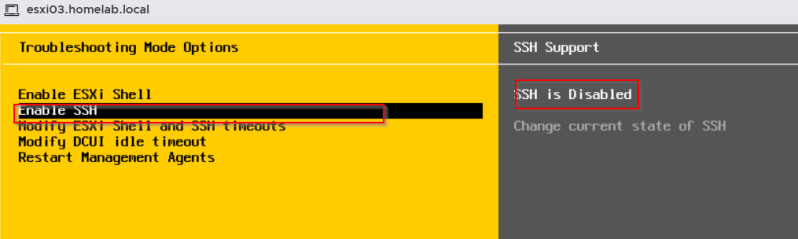
Enable SSH on the host
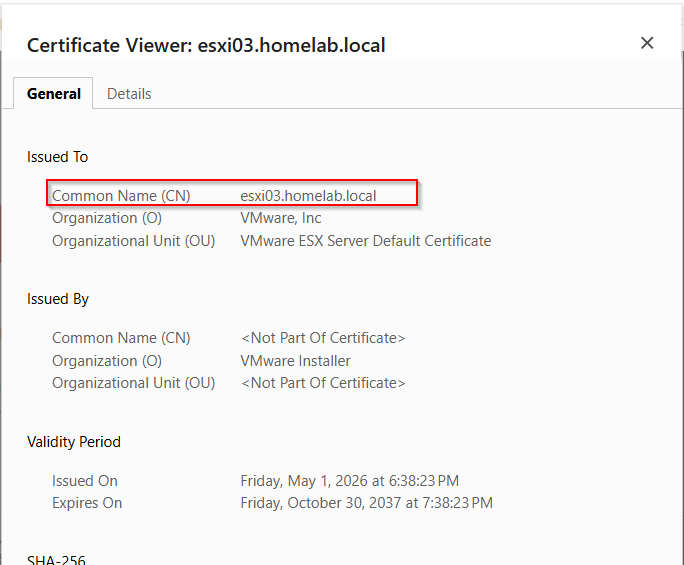
Default Certificate: Typically, the CN is localhost.localdomain or the FQDN assigned during installation.
Check if self signed certificate is valid
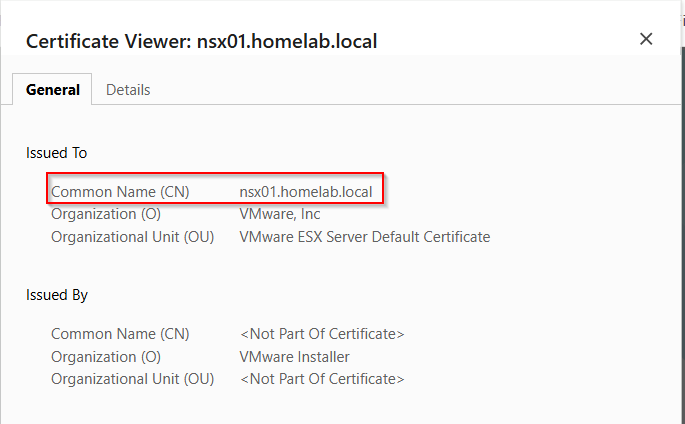
Regenerate self signed certificate not matching the host name. VVF deployment will failed if not remediated.
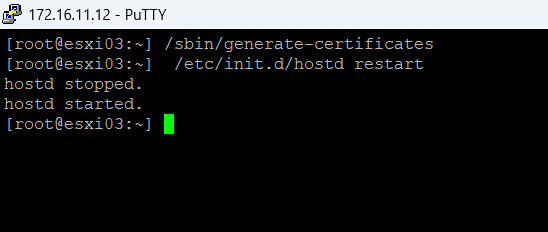
If restarting service doesn't resolve the issue reboot the host.
Check NTP configured and service is running start and stop with host

Configure VCF Installer online Depot
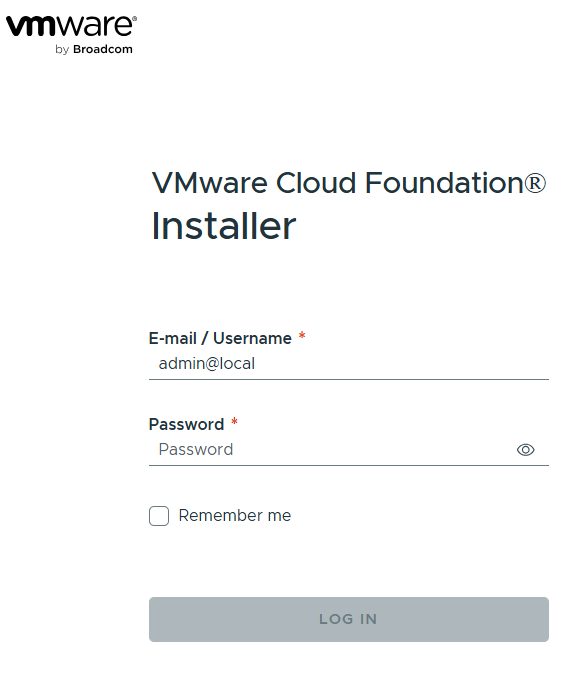
Login to the appliance https://<IP address of appliance
Configure Depot and Binary.

Click on configure and have the download token ready which we have downloaded earlier.
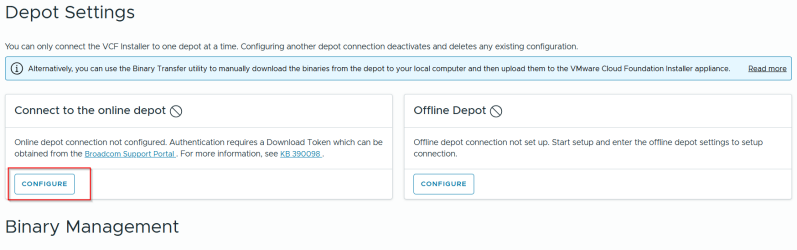
Paste the token which will give you the entitlement to download the binaries.

Select vmware vSphere Foundation
Drop down and select version 9.02 and download the products on the appliance

Configure Single Node Deployment
Enable SSH on VCF Installer appliance
- Edit the SSH configuration => vi /etc/ssh/sshd_config
- Change PermitRootLogin to yes
- Reboot the SDDC Manager.
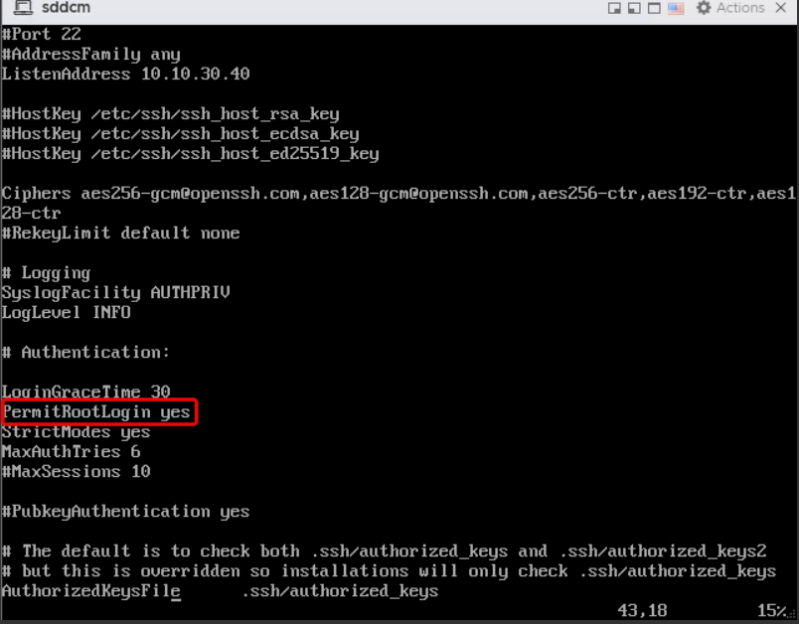
- After the reboot, SSH access will be available.
- Edit /home/vcf/feature.properties and add the entries below
feature.vcf.internal.single.host.domain = true
feature.vcf.vgl-29121.single.host.domain = true
feature.vcf.vgl-43370.vsan.esa.sddc.managed.disk.claim = true -
Edit /etc/vmware/vcf/domainmanager/application.properties and add the entries below
enable.speed.of.physical.nics.validation = false
vsan.esa.sddc.managed.disk.claim = true -
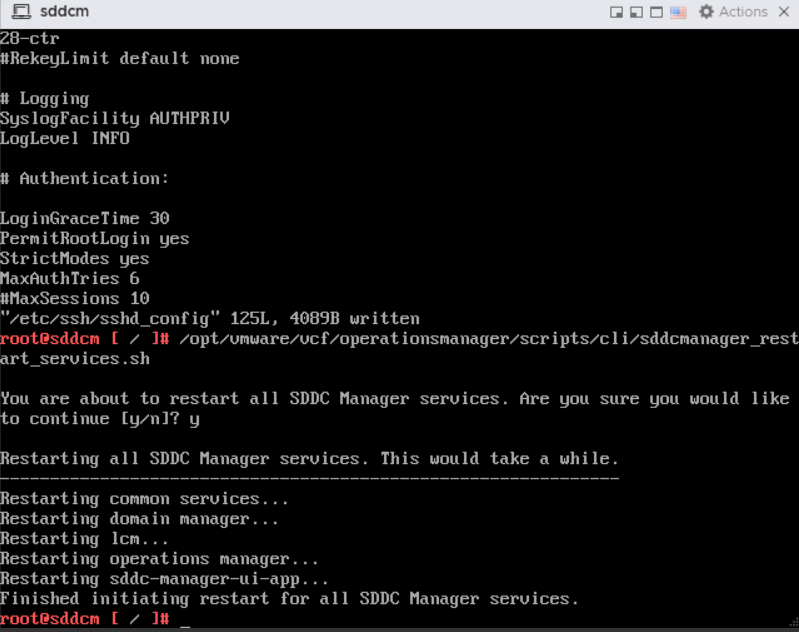
Restart SDDC services:
/opt/vmware/vcf/operationsmanager/scripts/cli/sddcmanager_restart_services.sh
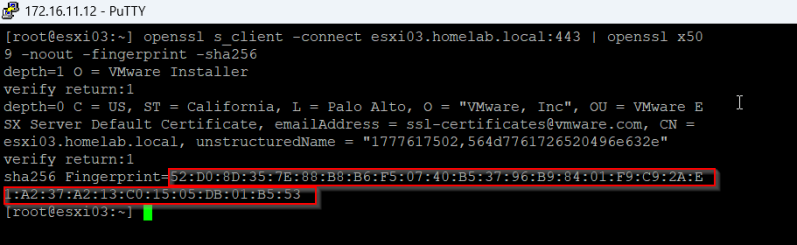
Even with "skipEsxThumbprintValidation": true in my JSON, the deployment still complained.
From the SDDC Manager, run this for each ESXi host:
openssl s_client -connect esxi03.homelab.local:443 | openssl x509 -noout -fingerprint -sha256
You’ll find the information you need on the last line
VCF Installer JSON file
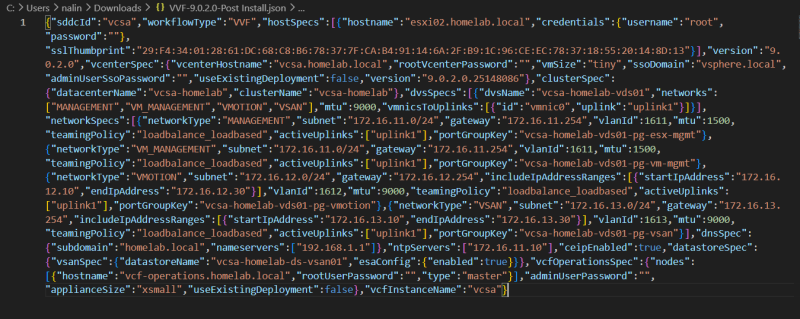
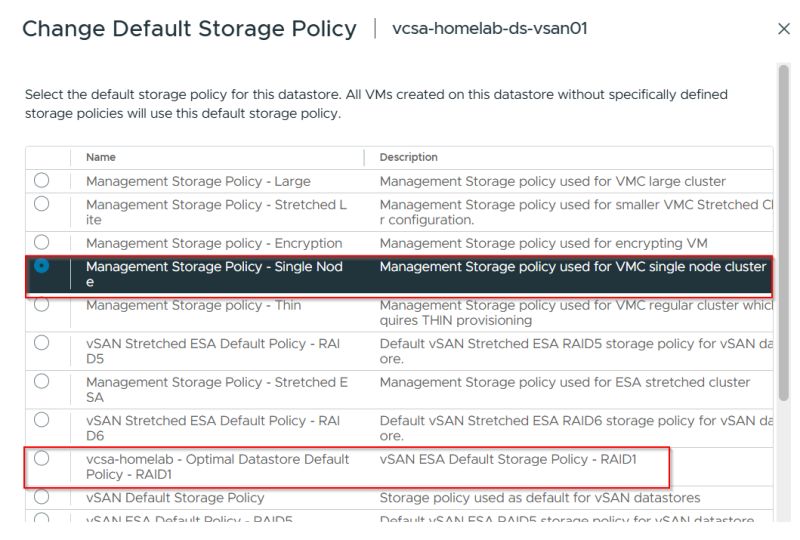
Please note when vcenter is deployed VSAN is configured as RAID1 with node requirement of 3 but we are only using one so it will error with failed to enable storage policy.
The vSAN Default Storage Policy usually demands 1 failure - RAID-1 (Mirroring), requiring a minimum of 3 nodes to tolerate 1 host failure. This default ensures data redundancy (FTT=1) and Thin Provisioning for new VMs if no other policy is specified.
During deployment when vcenter is up and running storage policy needs to be change to single node.